The useful answer
Plan extension glazing around the furnished room, then coordinate the doors, roof glazing and building interfaces as one package. Decide where you need light and how you reach the garden before committing to panel counts.
Solve the room plan before the glazing schedule
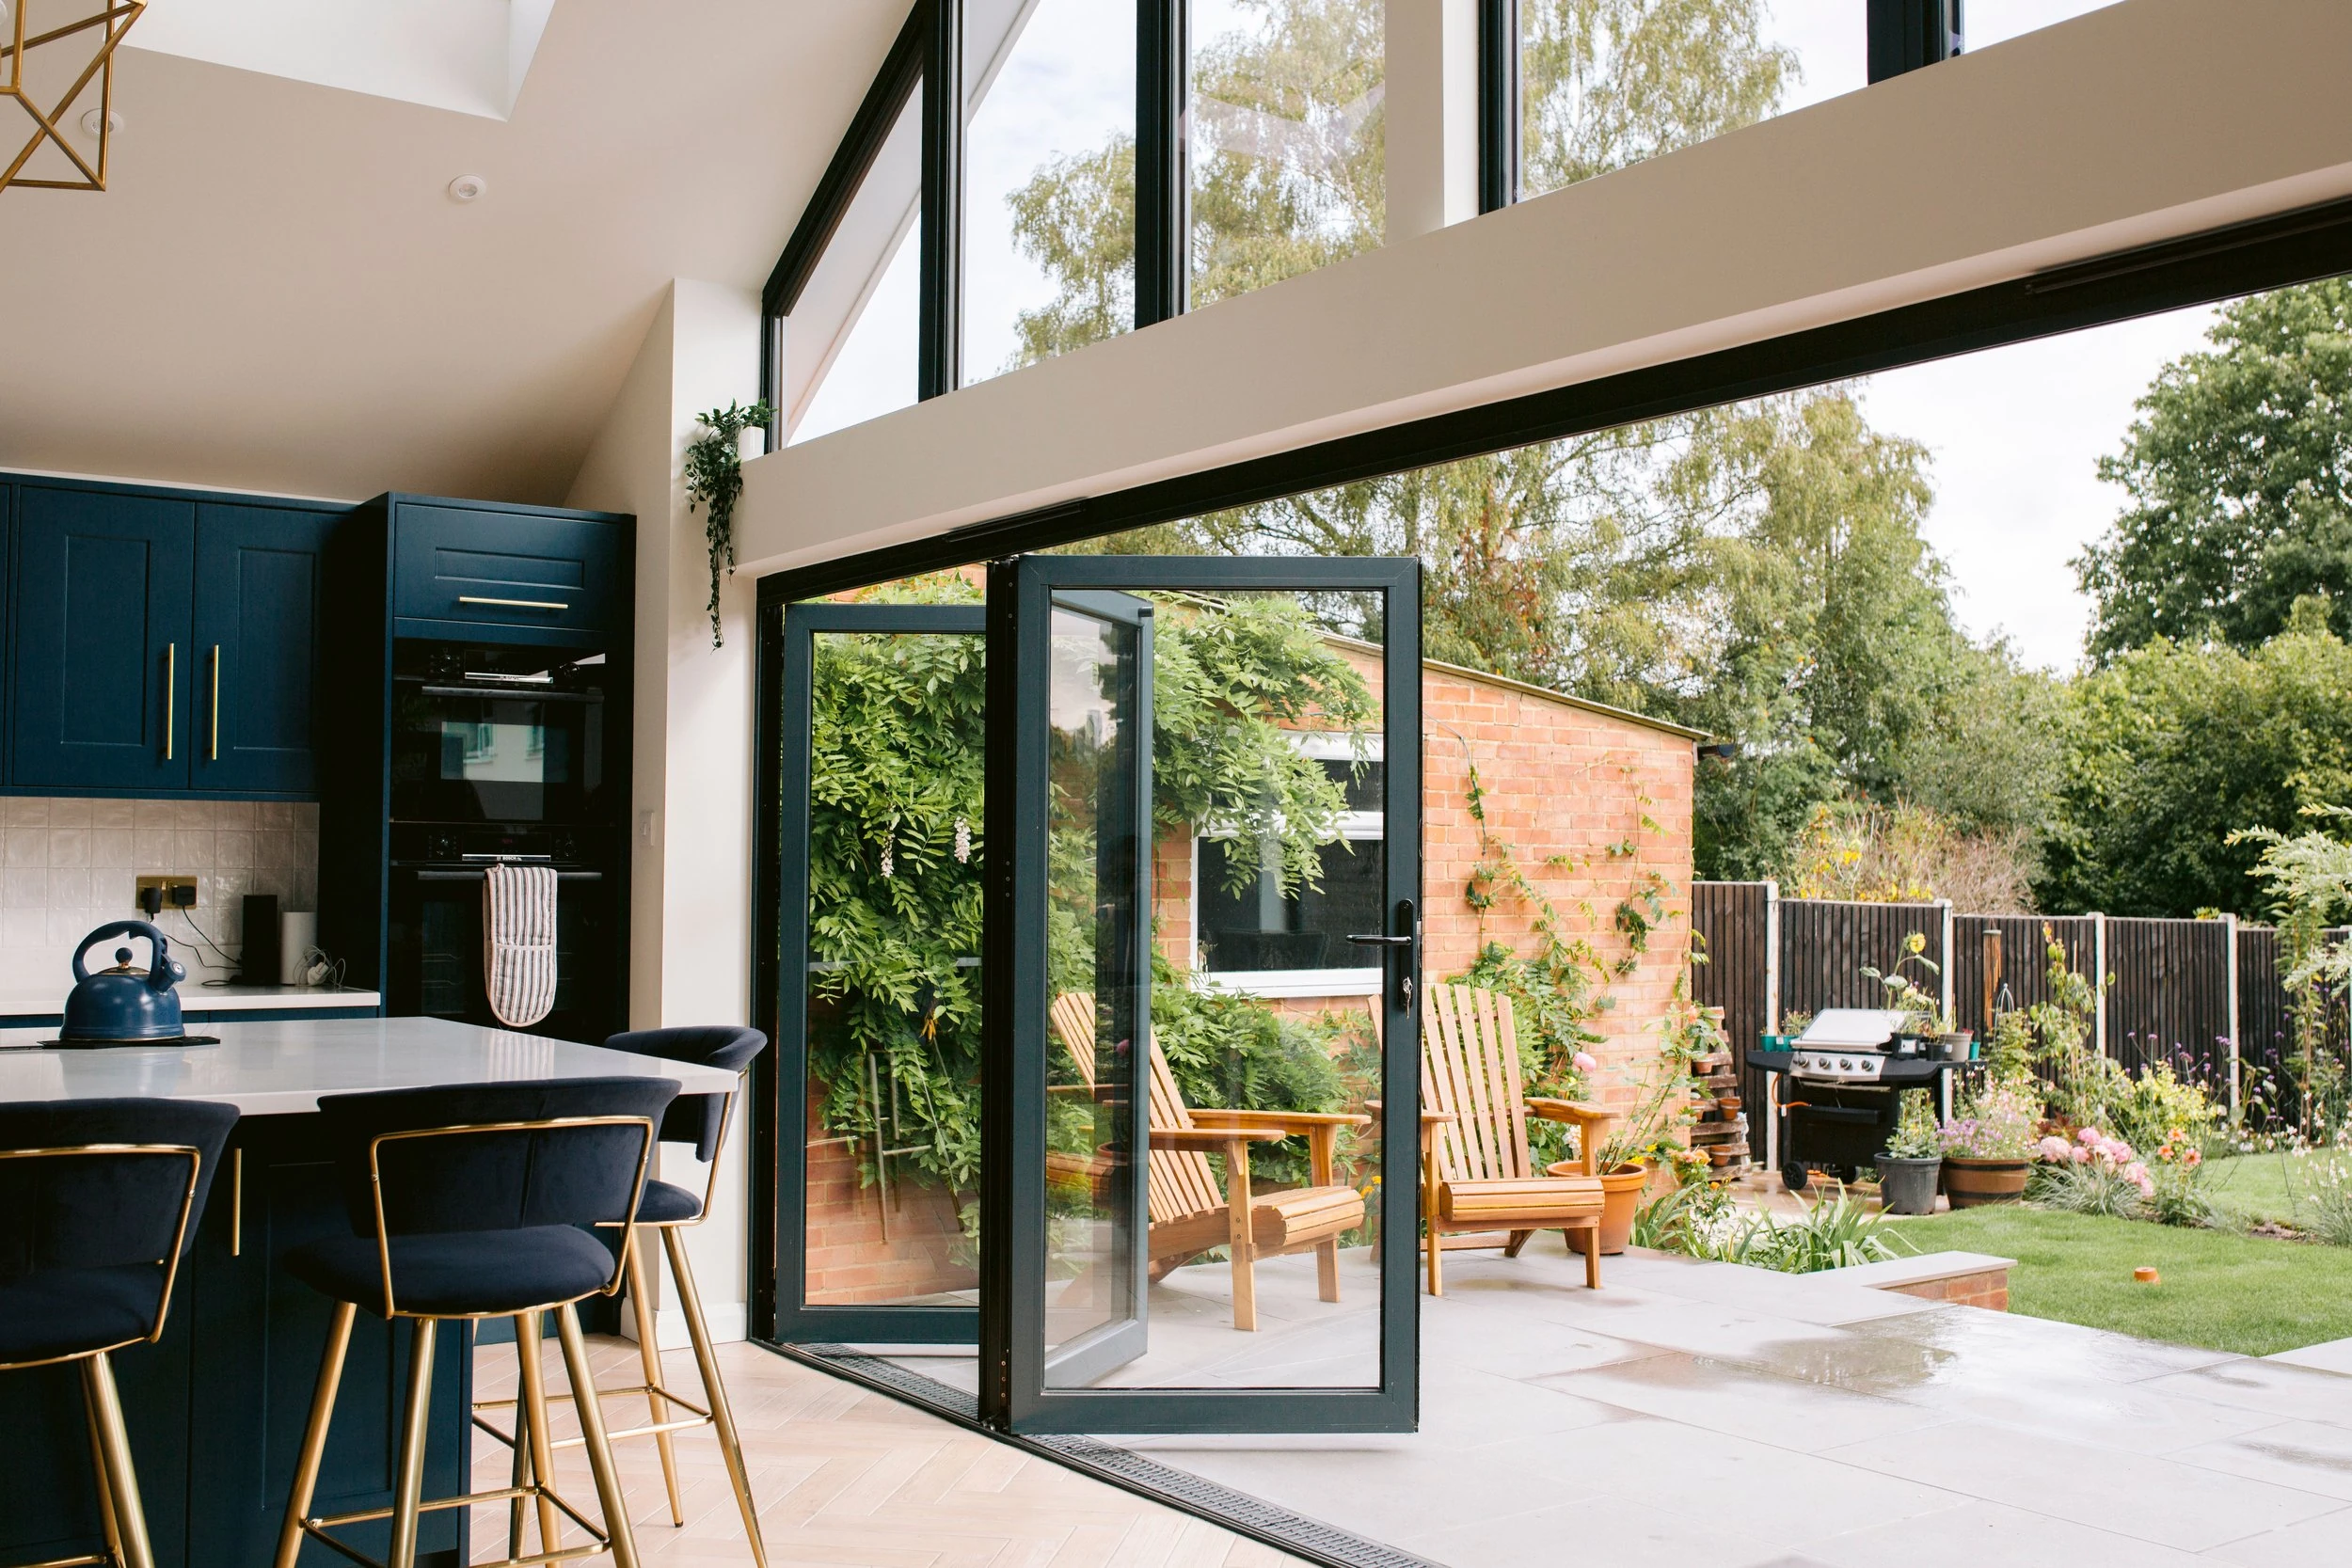
Start with the kitchen, table and seating at realistic sizes, including chairs pulled out. Mark the walking route to the garden and the view from the places you spend time. A wide glazed wall can be visually appealing while leaving nowhere for storage, heating or a comfortable circulation route. Keep useful wall returns where the room needs them.
Next overlay the roof structure and ceiling plan. Place roof glazing where it helps the room, and check it against beams, extraction and lighting. Agree floor levels, threshold drainage, roof upstands and structural openings before those elements are built. One coordinated opening schedule makes it easier to match finishes and avoid doors and roof glazing being designed in isolation.
A situation you can apply to your own project
A homeowner centres a lantern over an island, then discovers the pendant lights and an extraction duct want the same ceiling space. Move the actual product outlines onto the ceiling plan before approving either order. Similarly, draw bifolds fully stacked to see whether the garden route remains usable beside the dining table.
Compare the practical details
| Decision | What it means for your project |
|---|---|
| Room layout | Place furniture, storage and the everyday route first. |
| Vertical glazing | Compare the closed view and actual open passage. |
| Roof glazing | Locate useful daylight and coordinate ceiling services. |
| Building interfaces | Agree structural openings, floors, drainage and upstands. |
Work through the specification
Draw the room with the doors shut
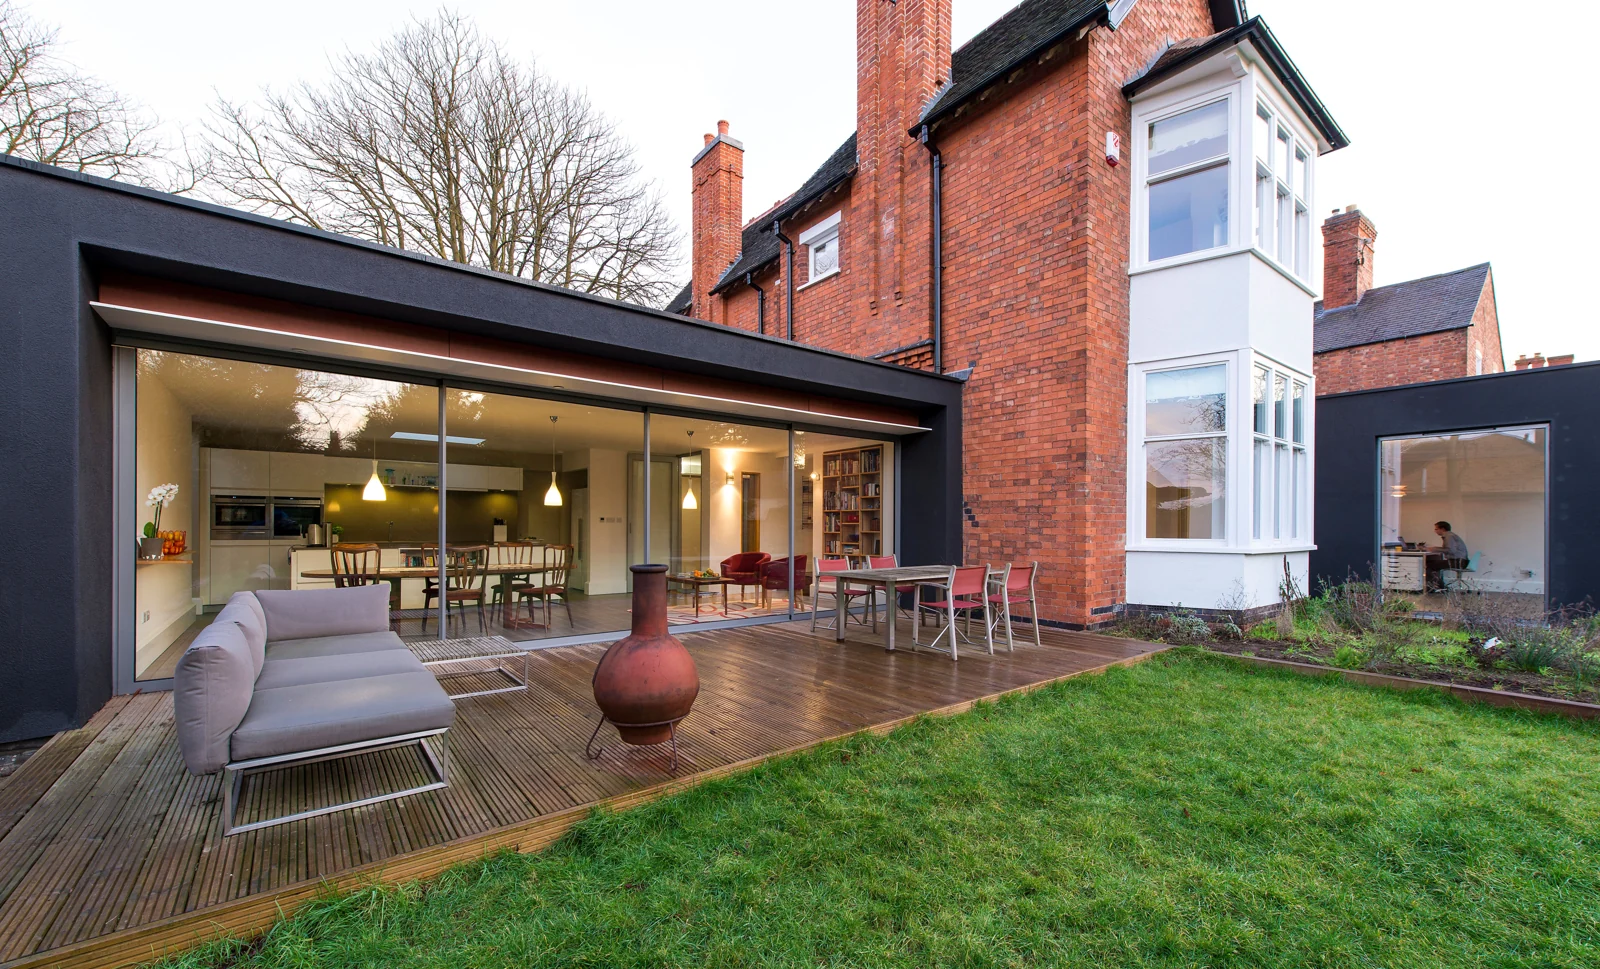
Most decisions should work on an ordinary day: where you sit, the view from the kitchen, the route to the garden and the space for dining furniture. Mark door swings and panel stacking areas on the plan.
Give daylight a job
A glazed rear wall and roof glazing do different things. Mark the darker part of the room, roof structure, orientation and nearby obstructions. Ask your designer to assess roof glazing position alongside shading and ventilation.
Coordinate the interfaces early
Ask your builder and glazing supplier to agree the structural opening, finished floor level, threshold drainage and roof upstand detail. A catalogue size is not an instruction for building the opening.
Make one opening schedule
Name each opening, record approximate dimensions and mark whether they describe masonry, a frame or an upstand. Keep colours, glazing preferences and who will measure each item in the same brief.
Your checklist before the next conversation
- Create furniture and ceiling plans
- Label every opening
- Choose an everyday garden route
- Coordinate glass for comfort
- Resolve interfaces before manufacture